How To Shoot Church Video Announcements Outdoors
Bounce, diffusion, and a Rubbermaid lid clamped to a music stand… yep, that sounds about right.

I think we’ve all found ourselves in this situation at one time or another:
We need to film church announcements outside with not a lot of budget, gear, time, or control of our environment (I’m looking at you wind gusts and airplanes).
I was in this situation a few weeks ago, but luckily we had just the right amount of gear, know-how, and luck to pull off this promo video for Park Hill Church & Royal Family Kids.
I’ll show you how we did it:
The Project
For this particular promo video five pastors from four different churches were partnering together to raise funds for an awesome summer camp for foster youth in San Diego - a worthy cause that I was stoked to be a part of.
Like any project though, we had some limitations:
1. The Great Outdoors
Because of the pandemic this project needed to be filmed outdoors - not a big problem there since we were in San Diego. However, changing sun, gusts of winds, and tons of airplanes made it challenging.
2. The Teleprompter & Schedule
All five of the pastors had never worked off of a teleprompter before - and we only had half a day to get everything recorded, so the potential for things going sideways were a little high.
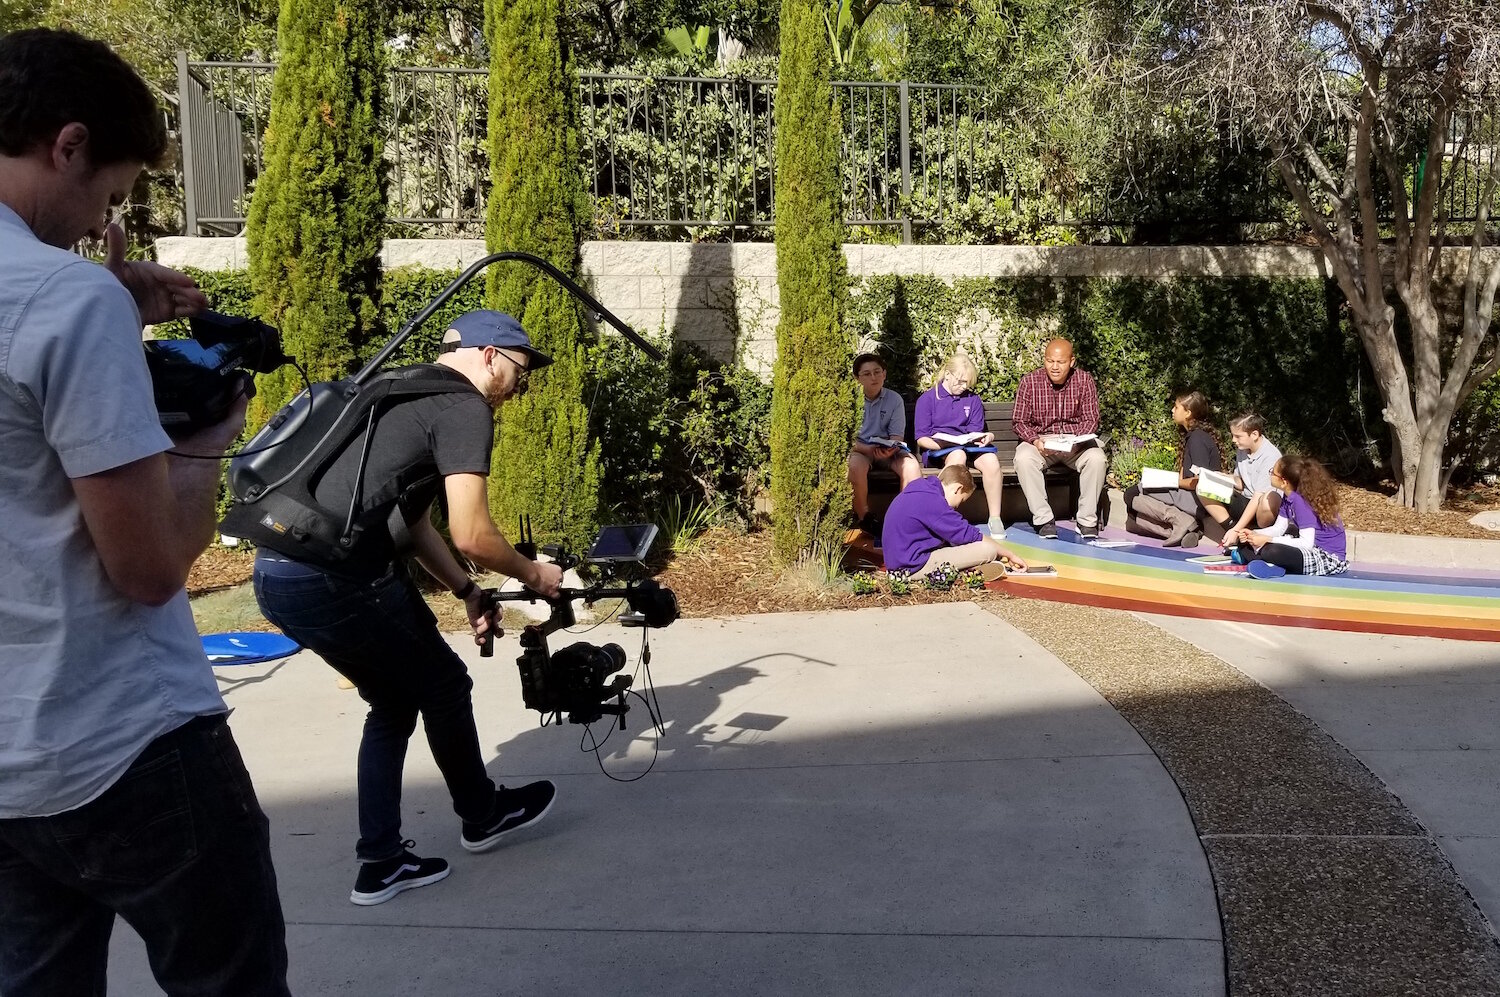
3. No B-ROLL
Because the camp was for foster youth we legally couldn’t show any of the children’s faces on camera, so we had zero B-ROLL to work with, and only had a handful of VERY small digital photos provided by the ministry to use. This put more pressure to make sure the shots of the pastors looked visually interesting (good framing, lighting, AND varying backgrounds) because the audience was going to be looking at those shots for a long time.
The Video Equipment
For this shoot we used my Canon C300MKIII with the Sigma 18-35 f/1.8 Art lens.

I almost always use this Sigma lens on teleprompter videos for a couple of reasons, the first being that you never know how good of eyesight your on-camera talent is going to have and I find that if you use anything longer than a 35mm lens they may not be physically close enough to the teleprompter to comfortably read the text.
The second reason is so I can create shallow depth of field to keep the focus on the speaker AND to hide any problematic background issues. It’s amazing how if something in focus is overexposed it looks terrible, but if it’s overexposed AND out of focus, then it becomes a beautiful blooming highlight.
We also used my Caddie Buddy teleprompter and my iPad using the PromptSmartPro app. I’ve been using this combo for a long time and it’s great (and VERY affordable).

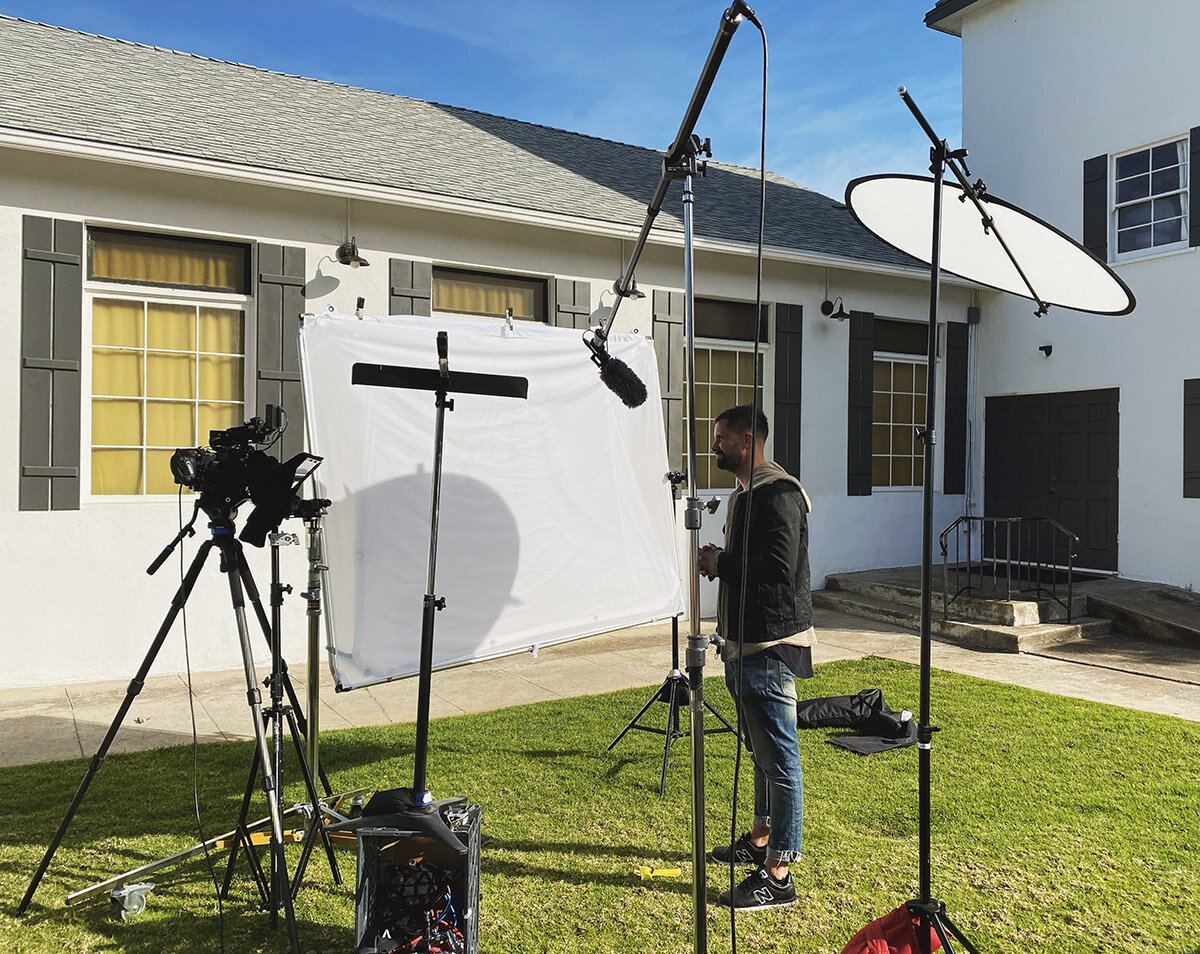
The main tool though that really saved the day was the Intellytech 5’x6.5’ Fast Frame.
I typically use the fast frame as diffusion for creating big, soft key light for indoor interviews, but on this day we used it as a bounce and as an overhead diffusion throughout the day.
The Cinematography & Lighting
When you are filming your church video announcements outdoors (or really shooting anything outdoors for that matter) you have to use your tools and know-how to adjust everything you’re trying to do to the biggest variables that you can’t control: the sun & noise.
If you try to fight against these two things, you’ll lose every time, so it’s best to work with them and adjust your game plan accordingly.

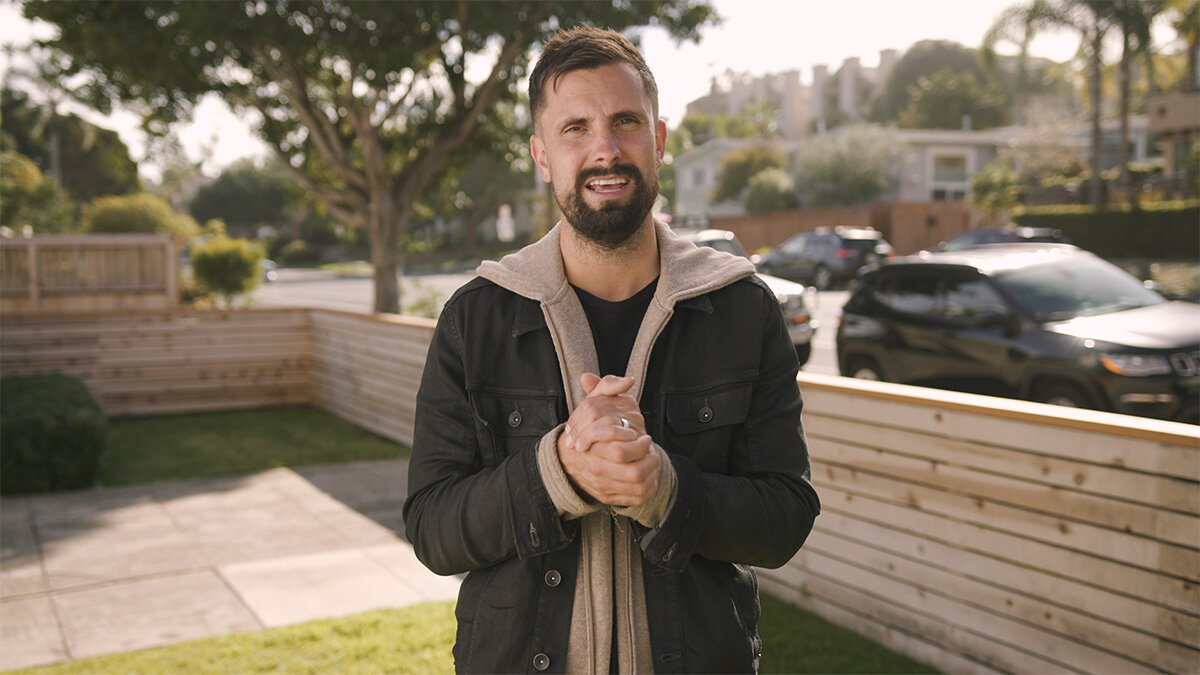
Our first set-up of the day was late morning and the clouds hadn’t burned off yet, so we didn’t have any sun to avoid or shape. In a sense this made this shot easier to shoot, but it also made it less dynamic.
Even though there was no sun, I still try to shoot it the same way I would if there was sun, because the same principals apply, the results are just a lot more subtle.
First, I wanted the background to be mostly darker than the pastor, but with some visual interest (aka not a plain background). Secondly, I wanted to create a set-up that would work while it was overcast, but would also work if the sun peeked out.
So I had the pastor walk all the way to the edge of the (very soft) shade being created by the tree behind him. This insured that the exposure level on his face would be as bright as can be (while still planning for him and the background to be backlit).
Also, because he’s facing the opposite direction of the sun he’s only illuminated by the ambient light in the sky and since he’s juuuust outside the invisible line of shade being created by the tree he’ll be brighter than the background.

Also worth noting - should the sun come out, that big tree would keep him from getting blasted from behind with crazy harsh sun.
We also set up the fast frame with diffusion just out of frame camera right and used it as a bounce to push light from the overcast sky back into Evan’s face and eyes.
Ideally since it was overcast I would have used Ultrabounce on my fast frame instead of diffusion as that would have bounced a much stronger light back at him, but alas I don’t own any Ultrabounce (yet).
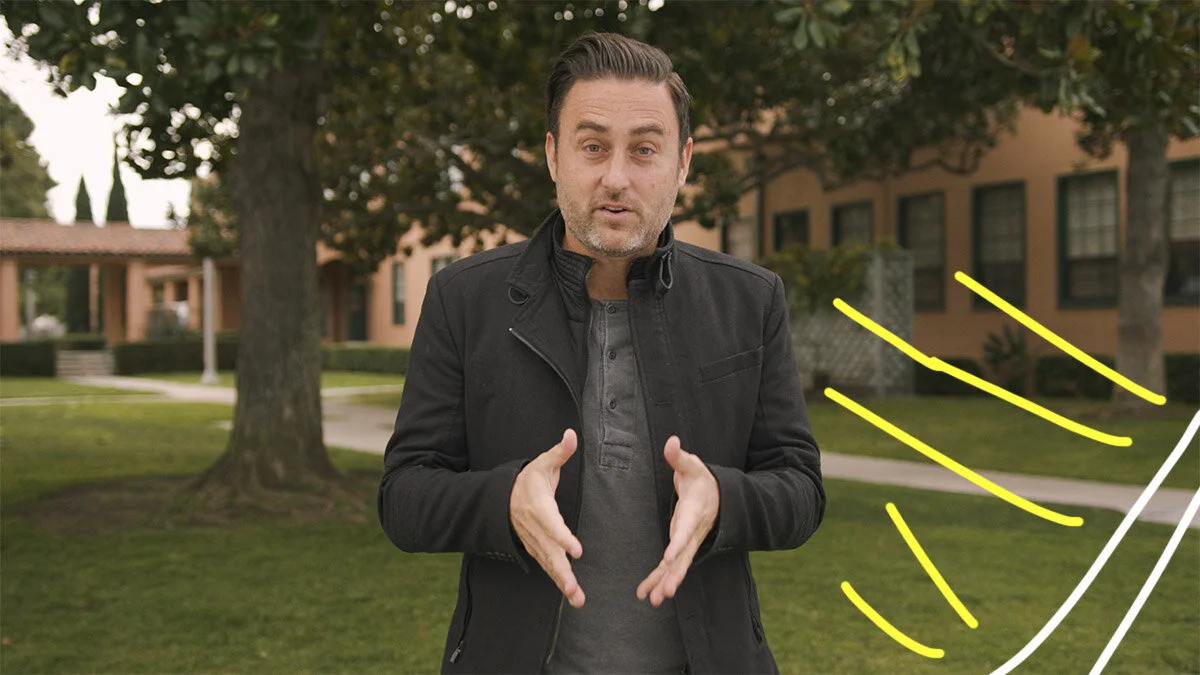
For our next set-up the sun slowly started to peak out as the clouds burned off, but we were already behind schedule so we didn’t have time for a completely different set-up so we just moved to the other side of that same tree and pointed the camera in a different direction.

This wasn’t ideal as the background was definitely brighter than our on-camera talent (wardrobe options weren’t ideal either), but with the sun starting to come out we at least could shape a more interesting light onto Dan.

For this set up we placed the fast frame just off camera left to bounce light back up into his face and also used the diffusion disk from my 5-in-1 pop up reflector behind him and to the right to diffuse the sunlight which softened the edge on the left side of his face.
Compared to our first set-up of the day, we’re starting to get some nice shape on the face which is what I was hoping to accomplish for everyone that day.
To make matters more fun, during Dan’s part the wind started gusting out of nowhere and was showing no signs of letting up. I had a dead cat on my Rode NTG-2 shotgun mic, but even that wasn’t enough to keep the wind from ruining the audio on one of the takes.
Because of that I made the decision to move the rest of the morning’s pastors back into a corner between two buildings that was more protected from the wind.

From a visual standpoint this new location gave us zero shade for the talent and the sun was fully out (well going in and out that is), so we hoisted the fast frame overhead to create a soft, toppy diffused source of light.
This worked pretty well, but also left Weston’s eyes a little darker than I’d like. We tried to bounce some light back up into his eyes using the white side of my 5-in-1 reflector, but as you can see it wasn’t doing a whole lot.

One important thing to note is that when you diffuse the sun as your key light, whatever is under the diffusion won’t be as bright as everything that’s not under the diffusion. Because of that I still wanted to shoot into a background that had some shaded areas so Weston would be brighter than the background.
The combo of caucasian skin and a white jacket didn’t make things easy exposure-wise, but hey, pastors gonna rock what they want, amiright?

For our final set-up of the first location the sun was fully out now and we had a new variable to deal with - glasses.

We moved Arielle over to the right so the background would feel different from Weston’s and we adjusted the fast frame so it was at a steeper angle so the key light felt like it was coming from the side more than just straight overhead.

This helped get more light into her eyes while keeping any unwanted reflections off of her lenses (we had to ditch the 5-in-1 completely because it was creating a green flare on her glasses).

Because her skin tone was darker I had to open up the aperture a little more to get her levels feeling good which in turn made the background a little brighter. The walls to the right are a little spicier than I would have liked, BUT because she knocked her takes out of the park we made up our time and ended this location right on schedule (which was more important than exposing those walls perfectly).

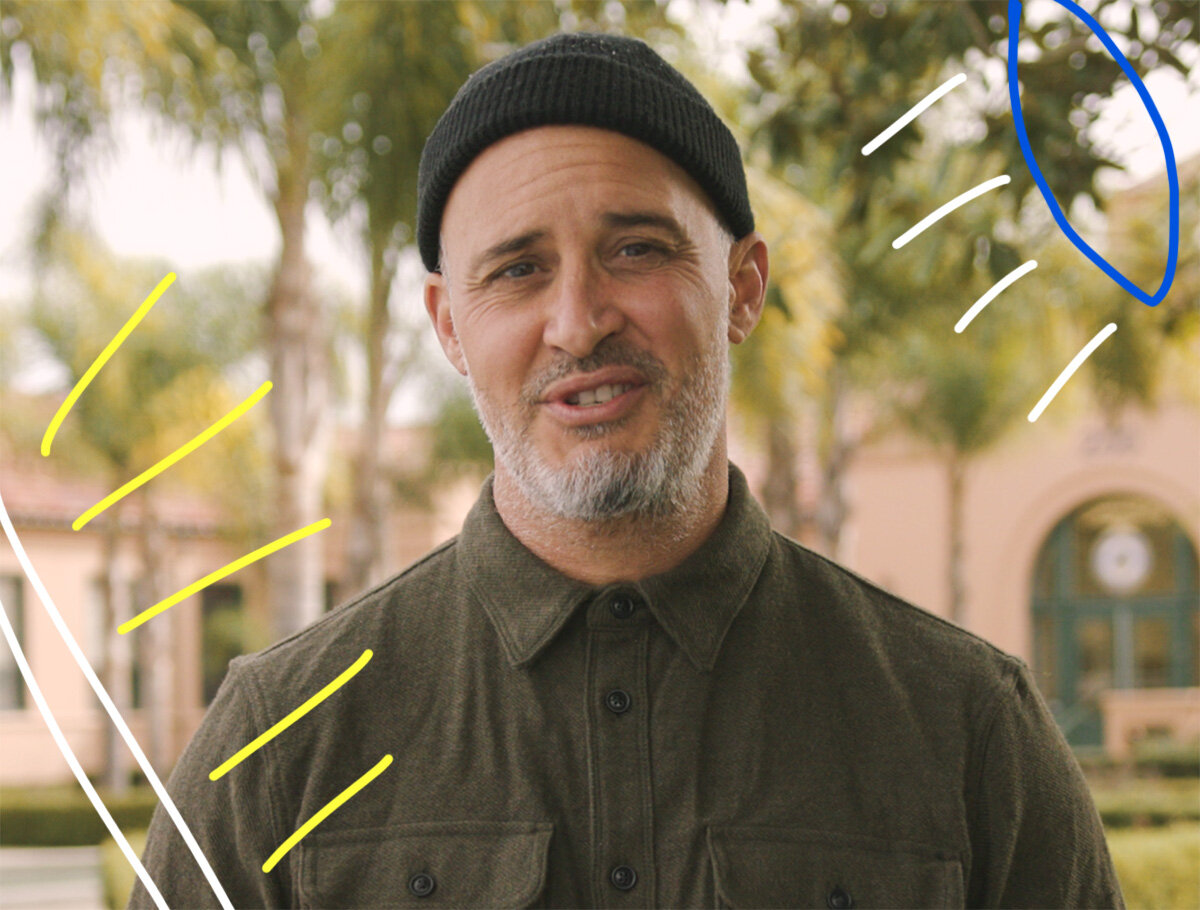
At our second church location we didn’t have much outdoor space to work with so we had to film next to a semi-busy street with zero shade so we did the only thing we could do: we made a sun sandwich.
The sun was getting much lower in the sky during the winter, so we used the 5-in-1 to diffuse the backlight that was hitting Benji and then used the fast frame to bounce light back into his face to give it some shape. We also had to make a little DIY teleprompter shade out of a Rubbermaid lid, a music stand, and a crate because the sun was shining directly on the teleprompter glass making it impossible to read.
I can’t imagine that it was fun having that bright of a bounce hitting you in the eyes, but Benji was a great sport and we were able to give him a nice twinkle in the eye.
Overall, this might have been my favorite looking shot of the day. The background is dynamic with dark areas and bright areas and the light on Benji feels dynamic as well - nice soft key light coming from his right, a good eye light, shadow on the left side of his face, with a nice kiss of edge light on his far left side of the face, and a soft hair light to help separate him from the background.
That wraps it up for the cinematography, but I also wanted to share a few more tidbits from the project:
Post-Production Sound
As I mentioned earlier we had to work against wind gusts, airplanes, and nearby traffic throughout the day. This was less than ideal, BUT post-production noise reduction has come a long way over the years.
I typically get more granular and fix & mix my source audio at the track level using Adobe Premiere’s various audio filters, but if you’re not familiar with all of the filters and what they do, I HIGHLY recommend at least playing with the sliders in Premiere’s Essential Sound tab (under the Repair section).

As someone who didn’t start fixing & mixing my sound in post until a few years ago I can confidently say that 99.9999% of EVERY SINGLE VIDEO you ever create will benefit from some combination of DeNoise and/or DeReverb (if you’re recording indoors). Even if you think your audio sounds pretty good, it’s worth putting a tiny bit of these filters on in post just to see what it does. I find that just a little bit goes a LOOOONG way in cleaning up room tone and background noise.

You’ll notice as you play with the various sliders that the audio will start sounding weird as you increase the amounts. When using the Reduce Noise slider in the Essential Sound tab I usually only use anywhere from .1 -.5 or less than 10% when using the DeNoise filter unless I’m dealing with insane levels of background noise.
*Both of these filters do the same thing, DeNoise is just more precise and is more versatile.
Non-Motion Graphics Motion Graphics

As I mentioned at the beginning of this post, we were given some small, low quality photos from the ministry of the summer camp (too small to use full screen) and because I am not a motion artist at all, I pulled out a VERY low budget solution.
I remembered that one of the options included in Photos on my Macbook was an animated slideshow where they made your photos look like a printed scrapbook. I thought this could work because summer camp has a strong “classic memories” feel to it AND because it makes the photos smaller in the frame.
Because Photos is FAR from a professional solution I had to add the same photos multiple times to the slide show in order for it’s automated order to give me enough options that I could then re-edit in Premiere to make work.
Who knows if anyone recognized this as a stock Apple slideshow, but hey it was free and it worked!
Conclusion

I always want to make my church videos look great, but sometimes you just have to balance all of your other variables (schedule, budget, personnel, weather, etc.) and just try to make things look as good as they can given the circumstances.
The important thing is that the churches were able to meet their fundraising goal and 30 foster kids are going to get an awesome (and hopefully life changing) summer camp experience.
If you have any questions about this post, hit me up on Instagram @_francois!
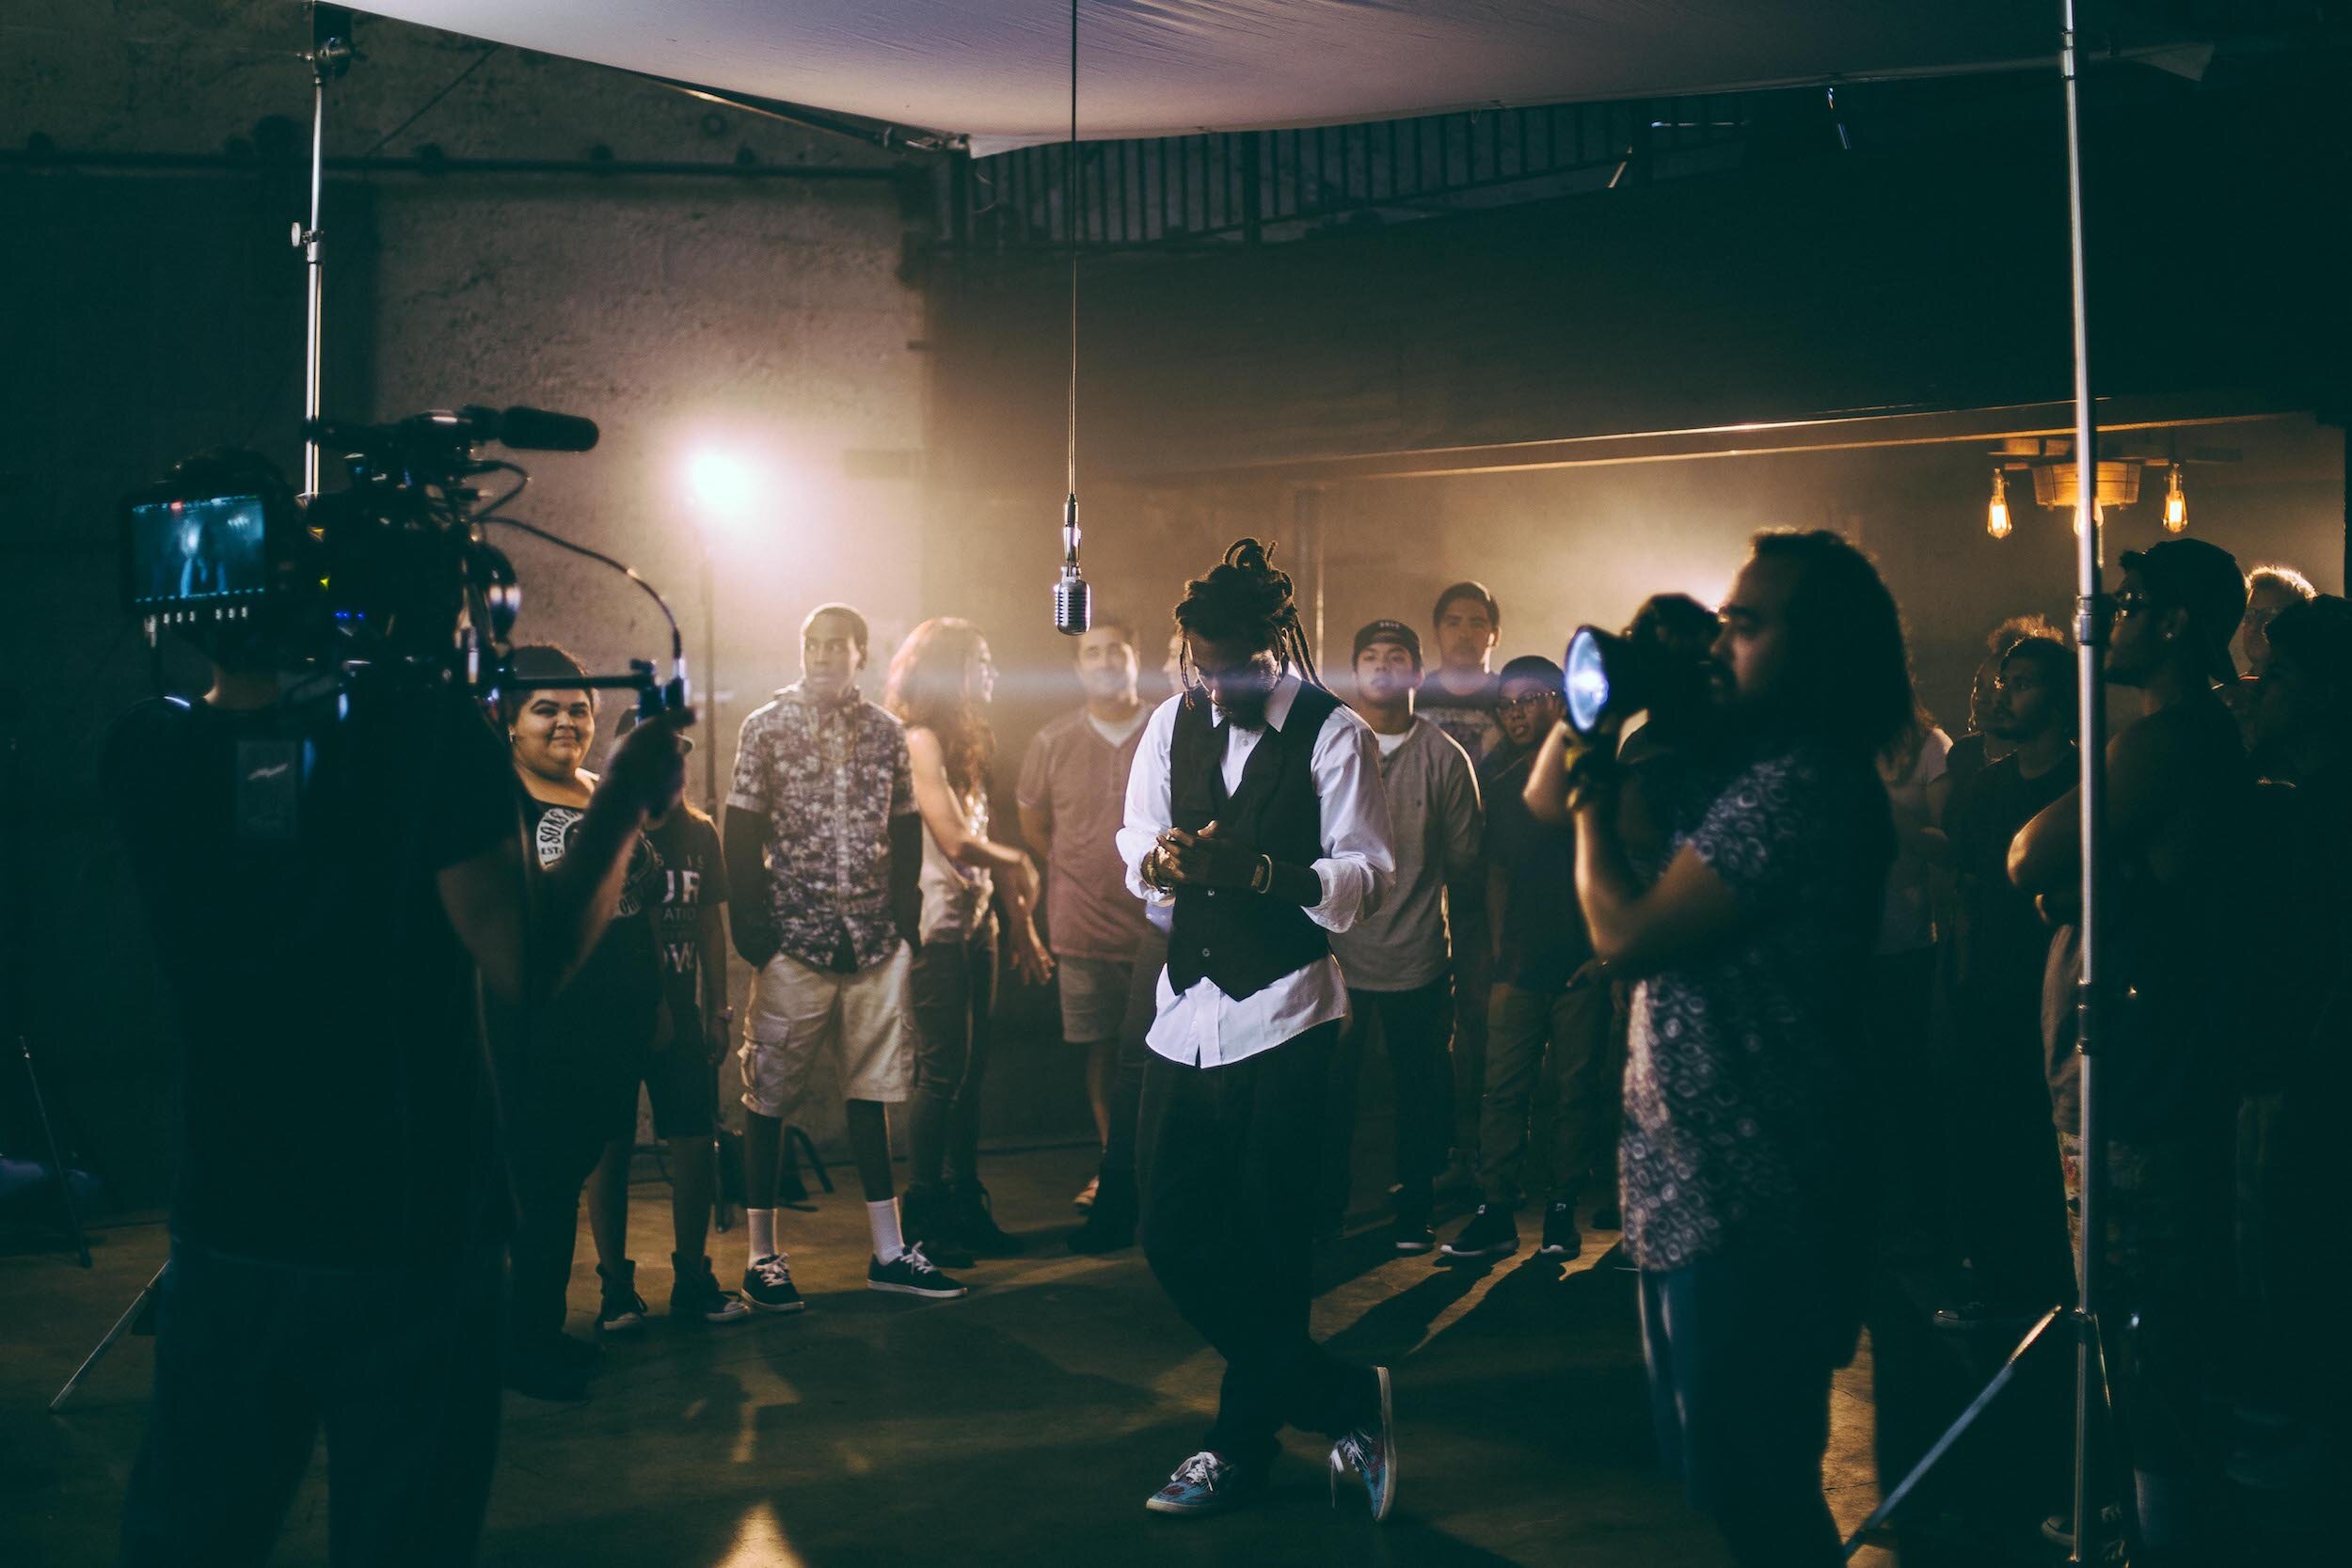
A detailed look into how we created the set design and cinematography for this promo video with Pastor Miles McPherson.